What is Revolution Populi (RVP)?
Revolution Populi is a blockchain-based database that can be user-controlled. It allows the building of multiple Dapps to be created using it, most importantly social networks. The team claims their technology will allow users to regain power over their personal data. Facebook and Google are known for storing huge amounts of your data, and these companies have the power to do 'almost anything with it since they own it. The Revolution Populi team claims that social networks built using their technology will be fair to the user data since it will be stored on the blockchain. Nobody will control own it, preventing abuse from companies.
Is RVP crypto a good investment?
RVP has one of the biggest potentials for growth that I've seen lately. Their technology makes sense in the world that we live in now, where big tech companies over-collect, over-use, and abuse user data for their own profit. I believe Revolution Populi could be the perfect fertile ground for new decentralized social networks to grow and eventually reach the mainstream. We have seen how some tokens aim to make money decentralized, but we haven't heard yet of making user data decentralized. User data can be seen as a commodity like any other, so why not decentralize it as well?
RVP is still in a very early stage, despite the recent pump, and I truly believe the project has huge room for growth.
Where can I buy RVP crypto?
You can currently buy RVP on Uniswap.
How to Buy RVP Crypto?
Step 1 - Setting up a Metamask Wallet
Metamask is by far the most used walled in the world of Ethereum. Whenever you want to buy and sell cryptocurrencies or even use blockchain apps that run on the Ethereum Network, Metamask will be your best friend. Setting up the wallet is also very simple and easy.
Head over to metamask.io and click Download. You'll need to use Google Chrome, Brave Browser, Firefox, or Microsoft Edge for this to work. So make sure you are using one of these four browsers. Now at the end of the page, click on the browser you're using and install the extension.
You are now the Welcome Page of Metamask. Click on 'Get Started.' Now click on 'Create a Wallet.' Choose a strong password for your Metamask wallet and continue.
Very Important Part! Keeping your backup phrase safe is the difference between having millions in your account or be that guy on the landfill looking for his old hard drive.
Click on reveal your backup phrase and write every word down on paper. Make sure you don't save your backup phrase on anything digital. This is for your security. After you wrote down your backup phrase, you'll be asked to confirm it. Click on every word in the correct order, and you should be done.
Step 2 - Buy ETH on Simpleswap
![]()
Simpleswap is the easiest way to buy crypto today. Free from registrations, KYC and third-party custody. With Simpleswap we can buy ETH and receive it directly on our on-chain Metamask wallet, skipping most of the steps we'd have to take through a traditional exchange.
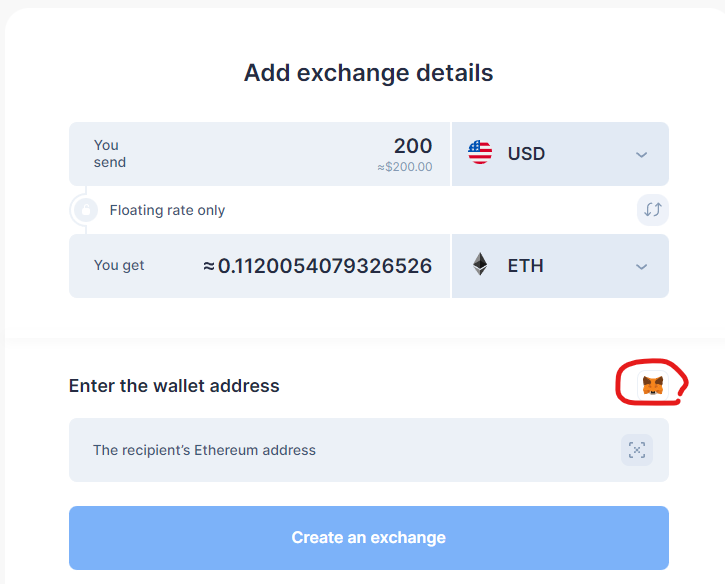
Click here to access SimpleswapJust click the Buy/Sell Crypto tab, insert the USD amount you want to trade for ETH, and click "Exchange", just like this:

Now all you have to do is click the Metamask fox logo to directly copy and paste your Metamask Ethereum address. It should add it automatically.
You can now choose between Google Pay or card to complete the payment:
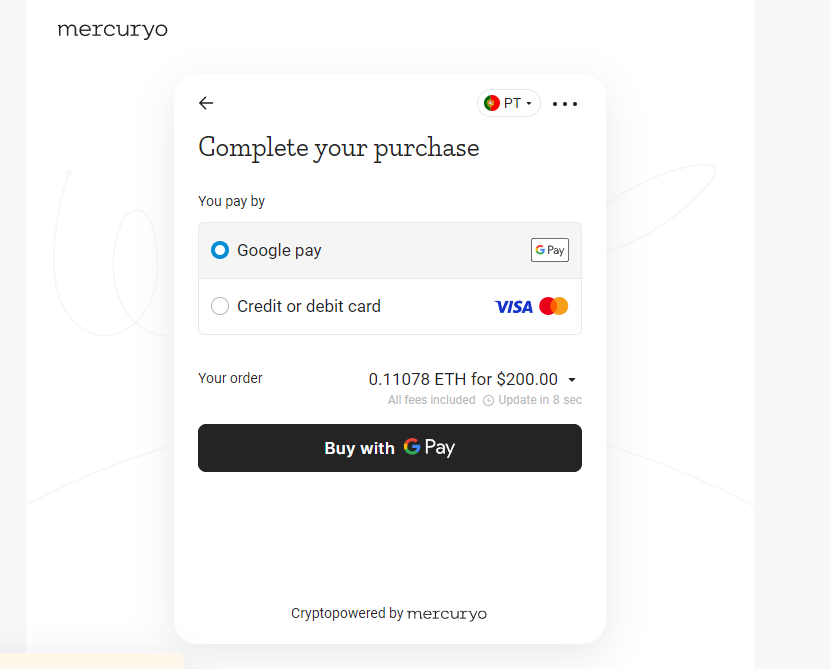
Once you complete the payment, all you gotta do is wait a few minutes for the payment confirmation, and for the on-chain transaction to complete. Once all that is completed you should see your updated balance in Metamask.
Step 3 - Buy RVP on Uniswap with ETH
Uniswap is currently the number one Decentralized Exchanged in the world, and it's simply the best place to buy cryptocurrencies that aren't available on sites like Coinbase or Binance.
Before we head over to Uniswap, we need to prepare your Metamask Wallet to receive RVP. Open Metamask, scroll all the way down, and click here:
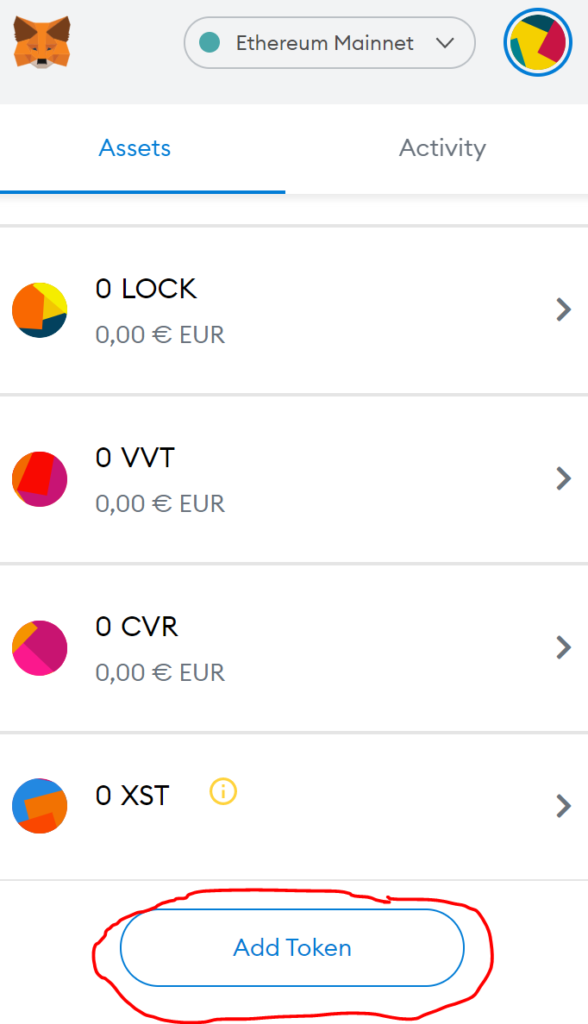
Select Custom Token and paste this token contract address there:
0x17ef75aa22dd5f6c2763b8304ab24f40ee54d48a
The rest should autofill, and you need to click next and then add tokens. Your account is now ready to receive RVP.
You can check the price and confirm the correct token address of RVP on Coingecko.
Let's buy some RVP!
Go to Uniswap. On the upper right corner, click on Connect Wallet and select Metamask. A confirmation popup should open on Metamask (click on the "little fox logo" if you don't see it). Now you need to accept, connect, and your wallet should be connected to Uniswap.
Select a token and paste the Token contract address: 0x17ef75aa22dd5f6c2763b8304ab24f40ee54d48a
Click Import and accept the terms.
This is what you should see now:
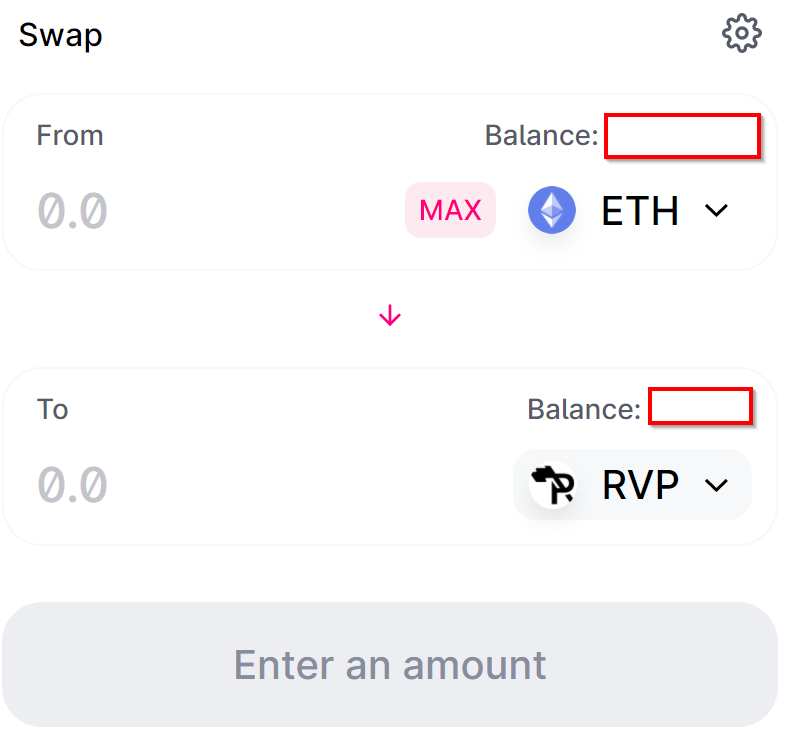
Now you have to select the amount of ETH you want to trade for RVP. After you confirm it, another popup will appear from the Metamask extension and you should approve the transaction.
Wait a few minutes, and your RVP should appear on your Metamask Wallet.
Congratulations! You are now a proud Investor of RVP!
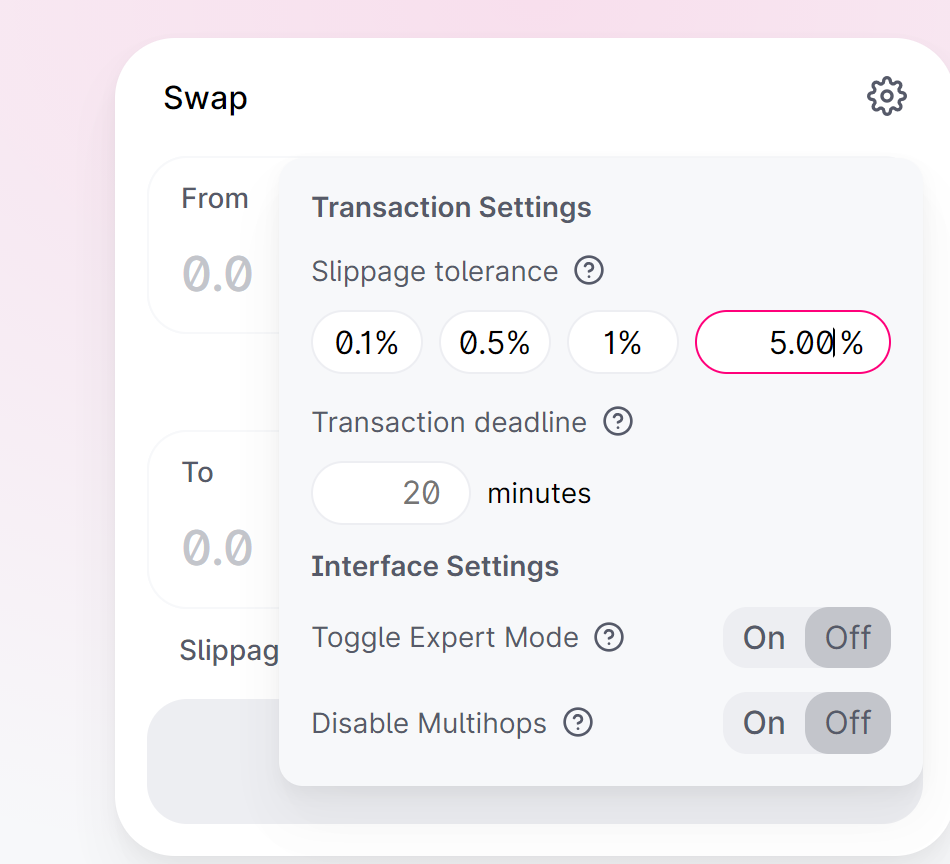
In case your transactions keep on failing, adjust your slippage tolerance. To do that, click on Uniswap's gear icon, and put 5% here:
If, for some reason, you weren’t able to buy the token on Uniswap, here’s a video tutorial that might help you:
Check out RVP links:
Site: https://revolutionpopuli.com/
Medium: https://medium.com/@RevolutionPopuli
Telegram: https://t.me/revpopofficial
Twitter: https://twitter.com/Rev_Populi
Please make sure you read our Disclaimer. We are not financial advisors.