In this guide, we're going to cover how you can safely protect your OMI crypto with a Ledger Hardware Wallet. This works for both the Nano S and Nano X versions. ECOMI crypto is receiving a lot of attention lately, and most people still don't know how to store their OMI crypto safely and are keeping them on the Exchange, which is something we don't recommend at all. If you haven't bought this token yet, follow our guide on how to buy OMI crypto.
In this guide, we're going to start from a point where you should already have your Ledger Wallet configured. If your Ledger device is completely new, you should follow Ledger's Tutorial for your hardware wallet's initial configuration.
Step 0 - Buy your Ledger Wallet
To follow this tutorial, you'll need an official Ledger device. In my opinion, the best cold wallet you can currently buy.
If you already bought your ledger wallet skip to Step 1.
Ledger is not only the first brand to produce a secure cold wallet for crypto, but also, the brand that most innovated when it comes security of decentralized assets.
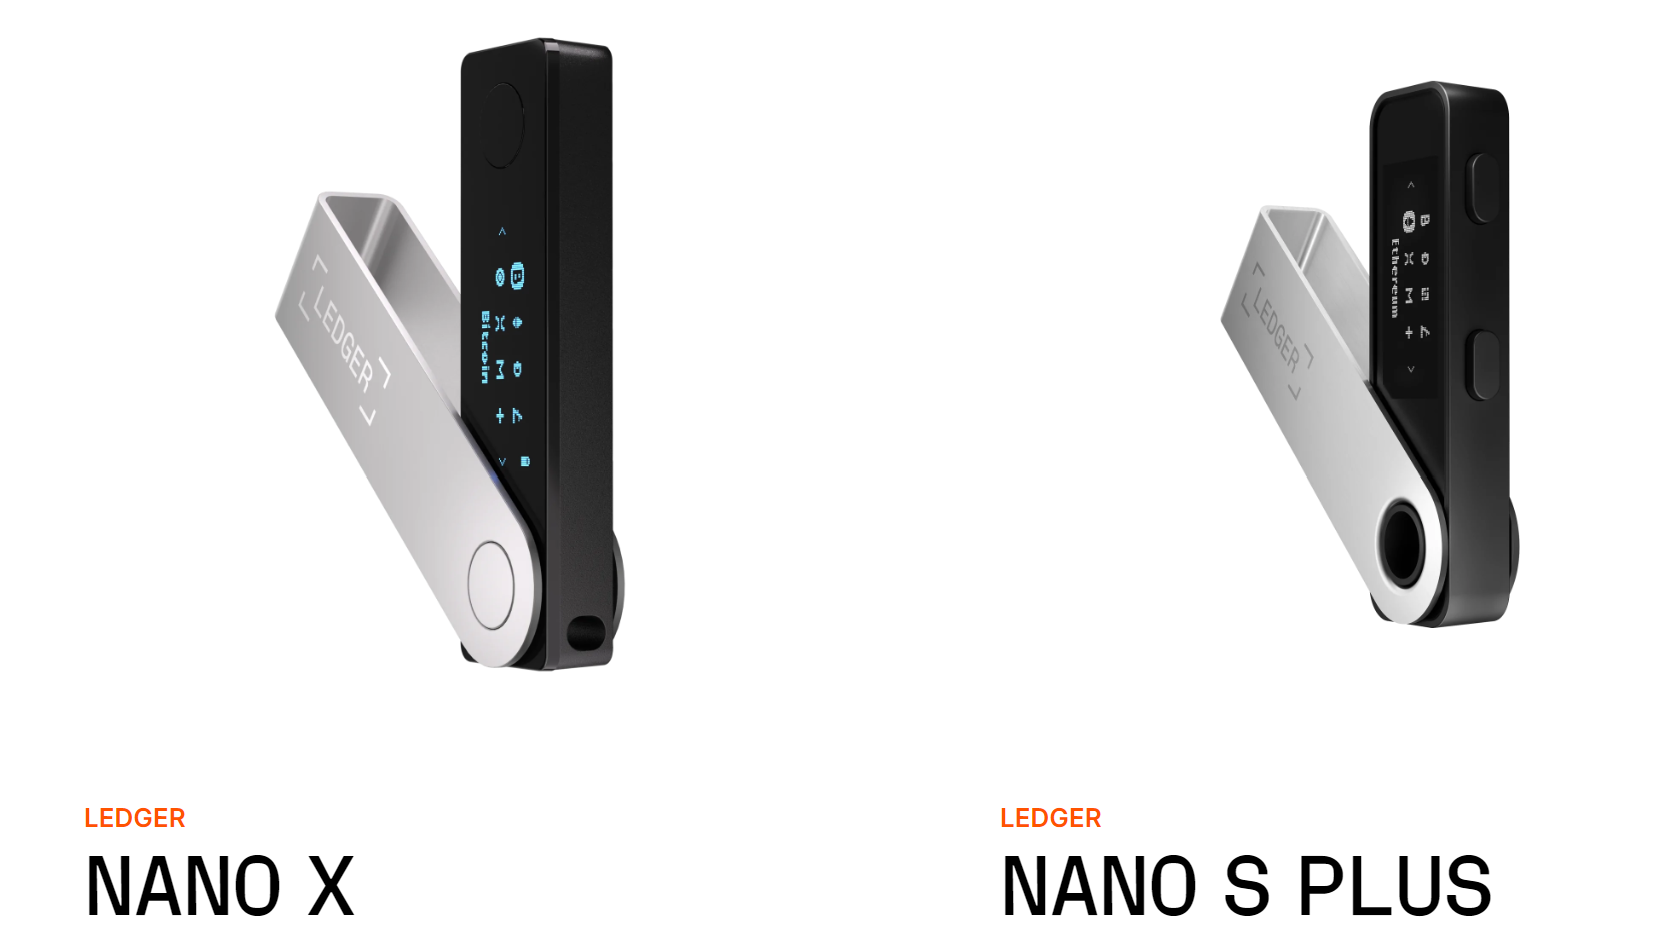
Any Ledger device will serve you well in your journey to security in crypto, but we highly recommend getting the Ledger Nano X because of the available space for different apps. Different apps will be needed to interact with different chains, and in this fast-evolving market you certainly don't want to get left behind because your ledger device doesn't have enough space for an extra app. In case you're more of a conservative investor, and only want to protect a few varieties of assets, you can get the Ledger Nano S Plus, or the normal Ledger Nano S that will serve your needs without a problem.
Go to the official Ledger Website
Confirm you are on the correct website. Follow our official links. Your url's main domain should end with ledger.com
Click "Shop Now" and choose your device
Complete the order, and wait for the package to arrive before continuing this guide.
Step 1 - Set up a Metamask Wallet
In this step, we will install Metamask, a crypto wallet in a browser extension. If you already have a Metamask Wallet, skip to Step 2. Doing this will create a new wallet that you won't use. Unfortunately, we need to create this new wallet to access the part where we can connect our existing Ledger Wallet.
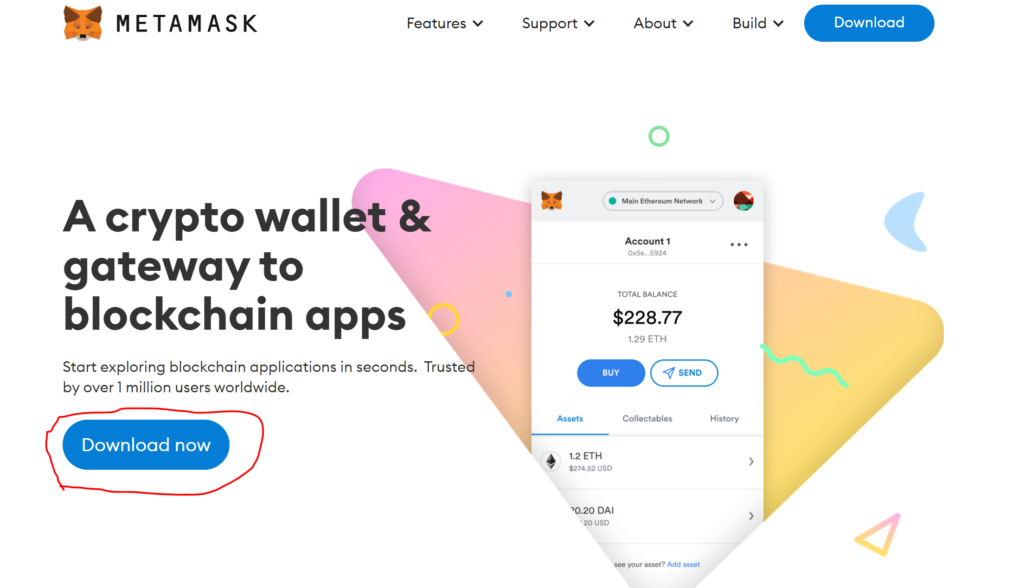
Go to metamask.io and click Download.
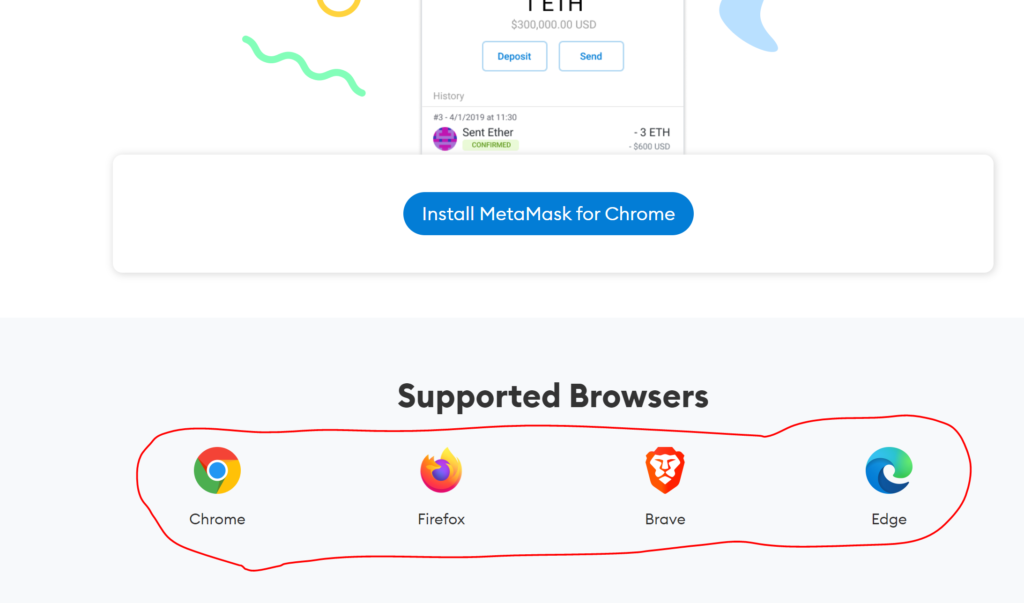
Scroll down and select the browser you use
You'll be redirected to your browser's Store. Just Click 'Install' and 'Add Extension'.
Once installed, a new tab will open with the Setup process. Click on 'Get Started.'
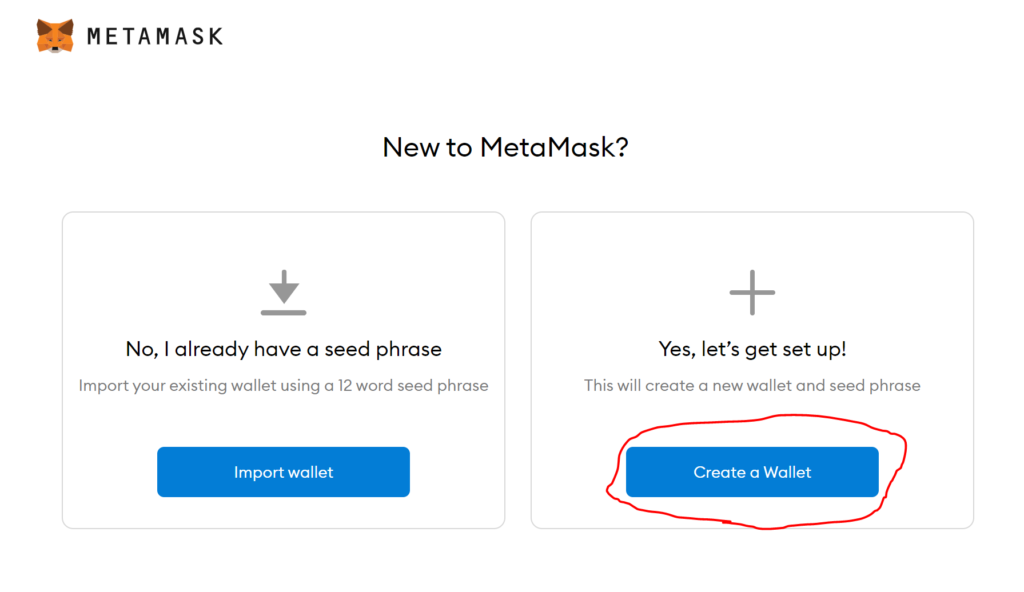
Choose 'Create a Wallet'.
After this, Metamask will ask your permission to gather your usage data to improve their user experience. You can agree or disagree. It's optional.
Create a Password
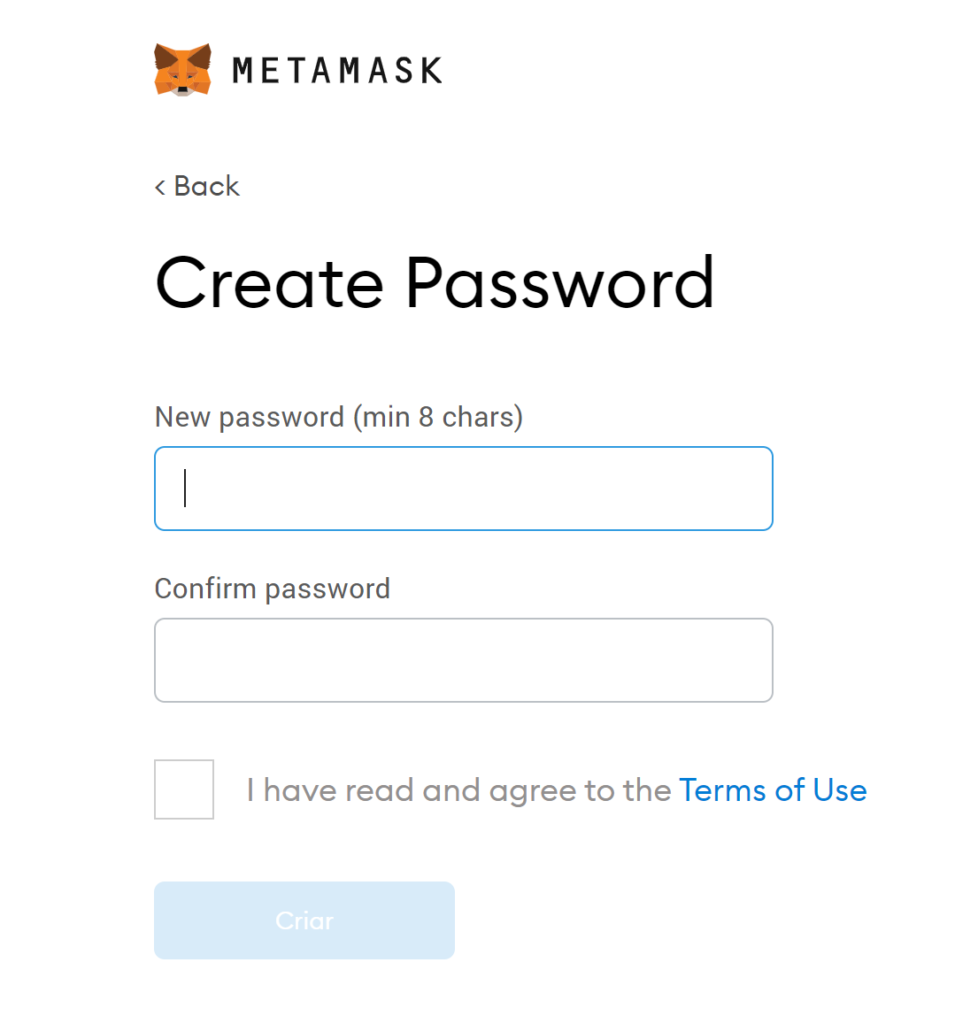
This password will be used to access Metamask but won't be asked if you ever want to recover a wallet.
Write Down the Backup Phrase
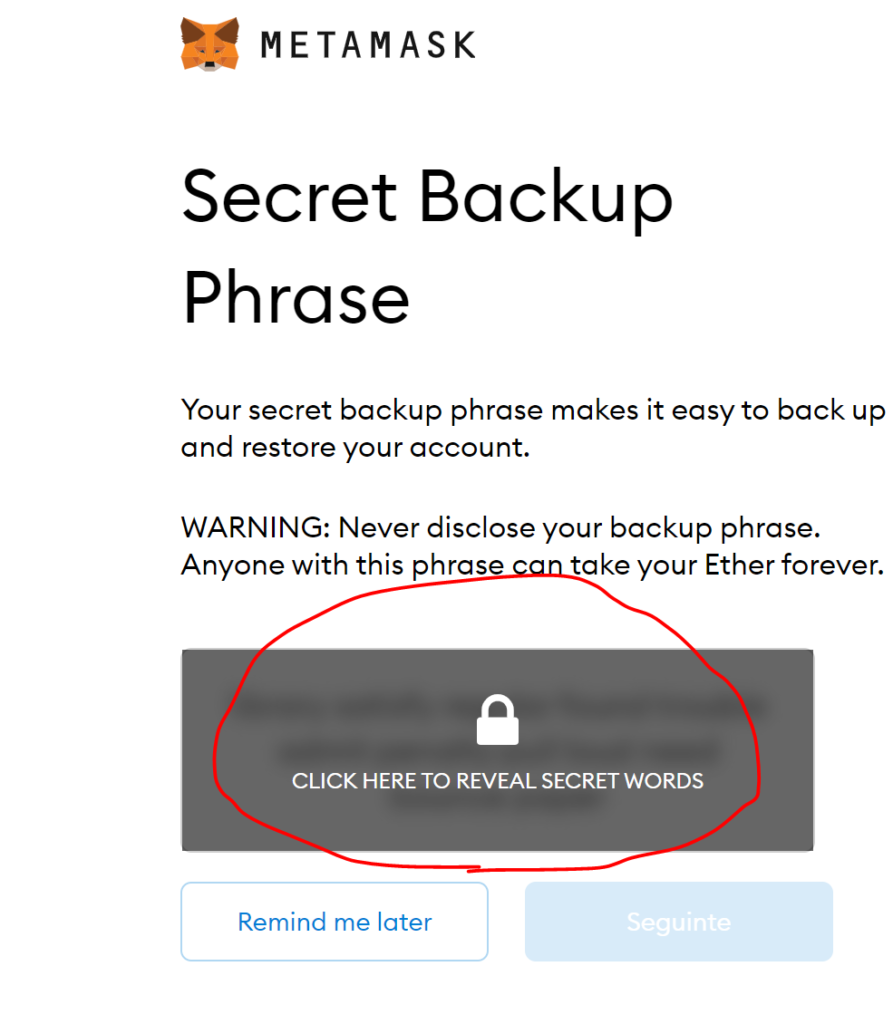
Write Down or take a picture of the backup phrase so you can confirm it on the next step. As I mentioned before, this wallet we're creating won't be used because we will connect our Ledger to Metamask. Save the Backup phrase just in case you accidentally send crypto to the wrong wallet and lose it.
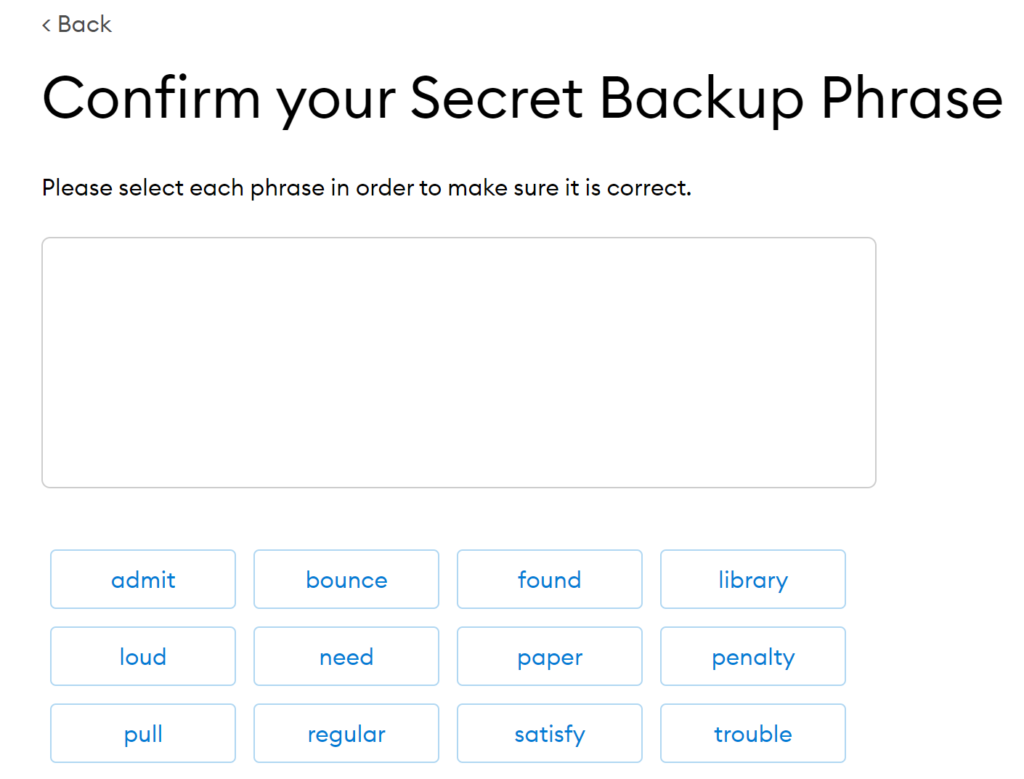
Confirm your Backup Phrase in Order.
Click All Done.
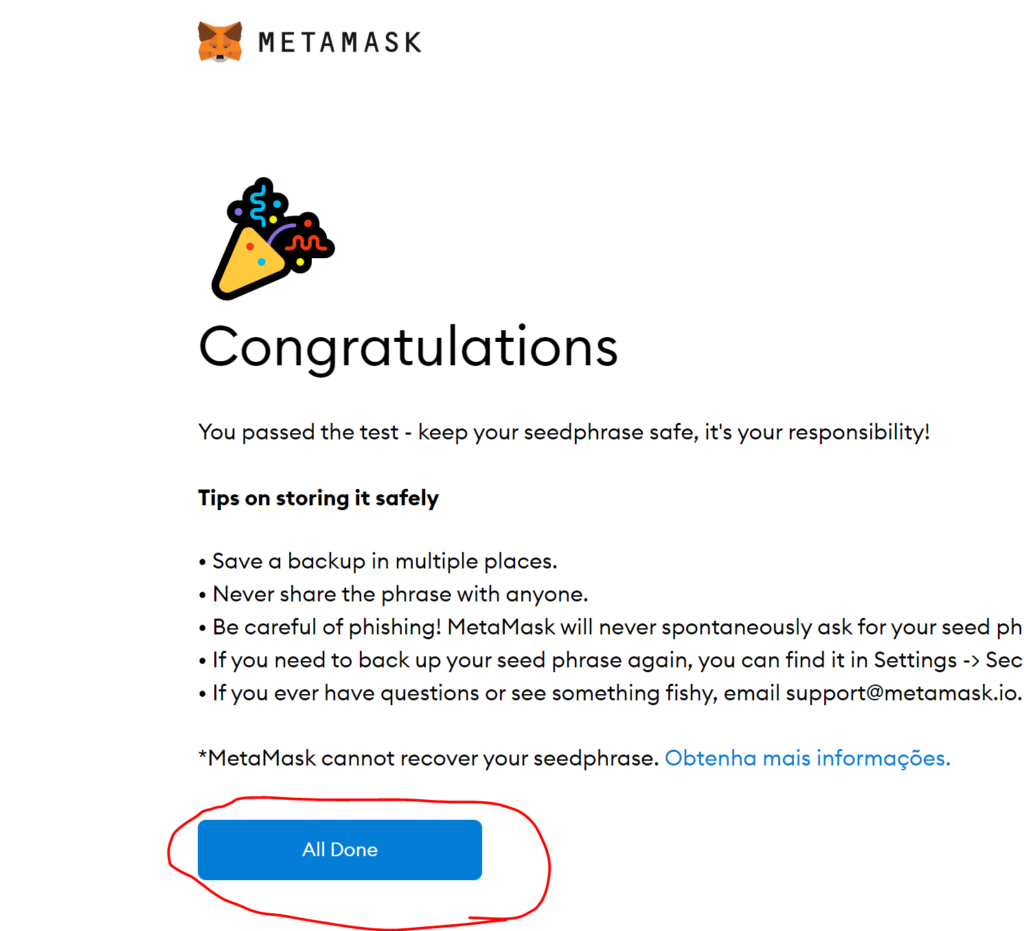
Your Metamask extension is now configured.
Step 2 - Connect your Ledger Wallet to Metamask
Connecting your Ledger wallet to Metamask is super useful since we need Metamask to interact with Dapp's. Doing this won't create a new wallet for you, it will simply connect your existing Ledger Wallet to Metamask, and you'll be able to use it everywhere, with the added protection of a hardware Wallet. Every transaction that requires crypto coming out of your wallet will require you to accept the transaction on your Ledger.
Connect your Ledger Wallet to your computer's USB port and Open the Ethereum App.
If you don't have the Ethereum App installed yet, you can follow this Guide from Ledger.
Connect your Ledger, insert your pin and Select Ethereum:
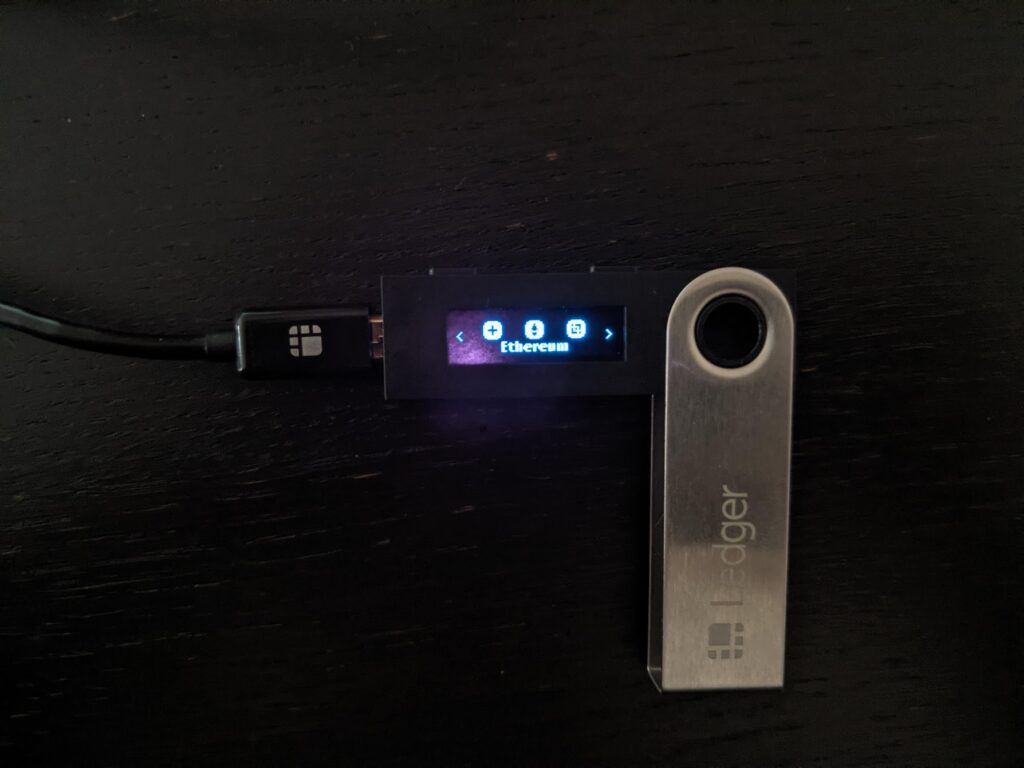
Double Click to open the Ethereum App, and you should now see this:
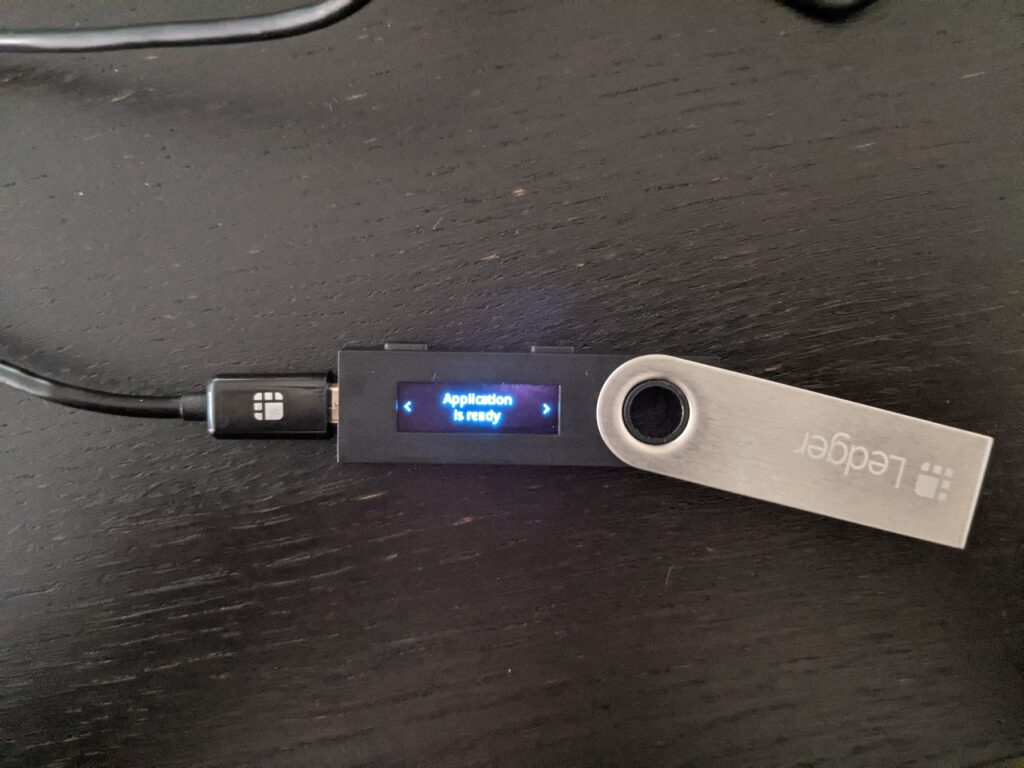
Your Ledger is now ready to connect to Metamask. Let's do that.
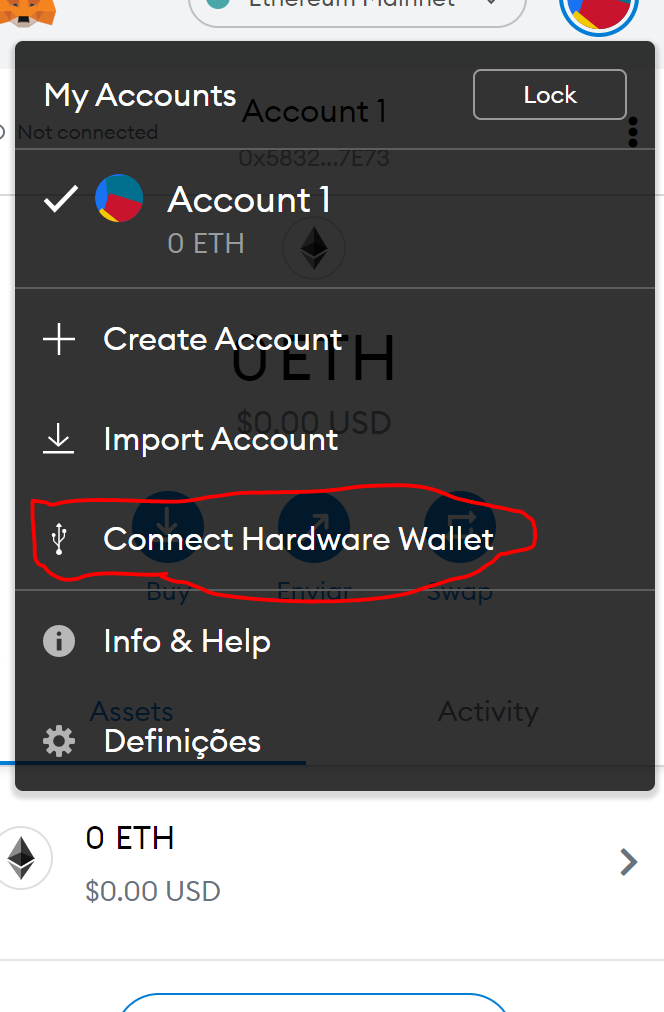
Open Metamask and Click on your Profile Icon.
![]()
Select Connect Hardware Wallet.
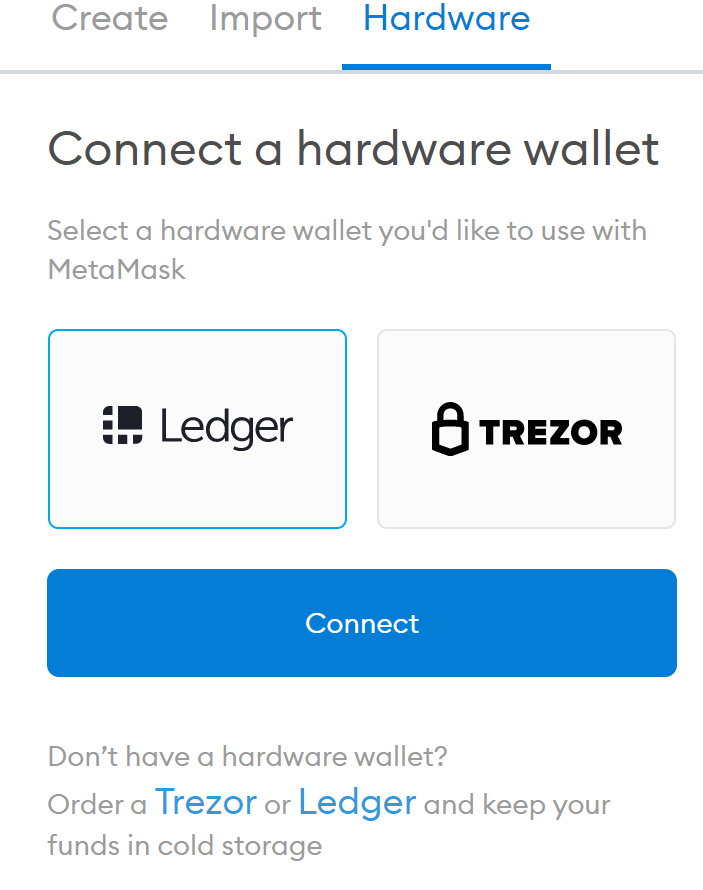
Select Ledger and Click Connect.
Select the First Wallet and Click Unlock:
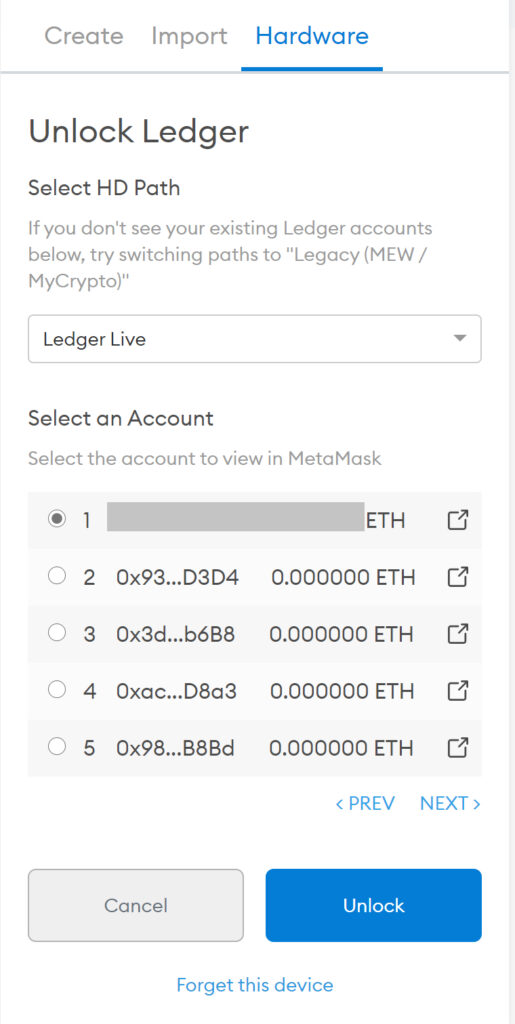
And it's done. Your Ledger Wallet is now configured in Metamask. Now you'll have two accounts on your Metamask extension. 'Account 1' is the one we created just for setup purposes, and the 'Ledger 1' is your Ledger wallet, and it's where you should store your crypto.
Another great feature of Metamask is that you can use it with multiple chains. Ethereum Network, Binance Smart Chain, GoChain, you can add any network you want. And in any network you use, you'll be protected with your Ledger device. For OMI tokens, we need to configure GoChain since ECOMI runs on it.
Step 3 - Add OMI Token on Metamask
This step is quick. We need to add the contract address to Metamask so it can recognize the OMI token.
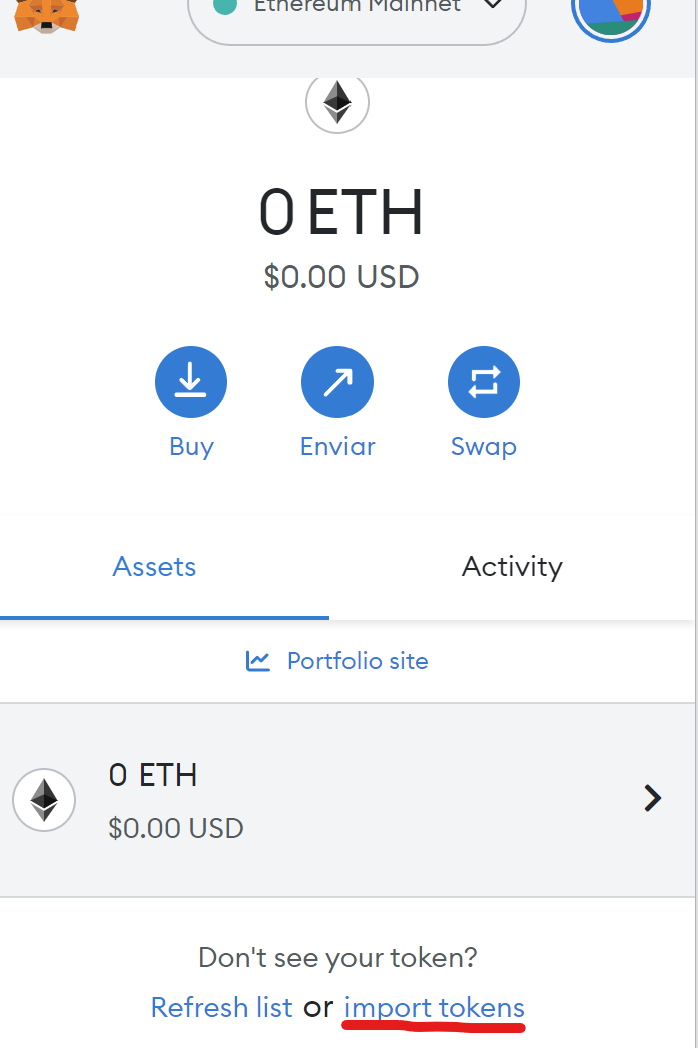
Click on Import Tokens:
Select Custom Token and paste this Contract address:
0xed35af169af46a02ee13b9d79eb57d6d68c1749e
The rest should auto-fill .
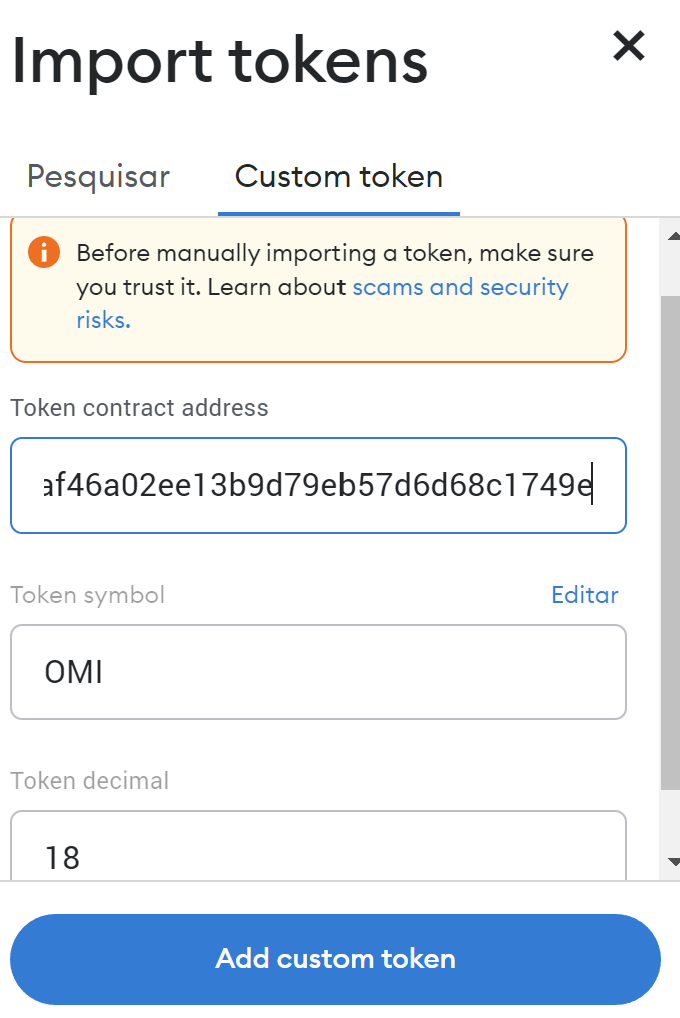
Just Click 'Next' and 'Add Token.
Step 4 - Send OMI Crypto to your Wallet Address
If you followed our tutorial on How to buy OMI crypto. You should have OMI tokens on Gate.io. We're going to show you how you can send them from Gate.io to your Ledger Wallet. But this process will be very similar if you have the tokens on a different exchange.
If you haven't yet, REGISTER ON GATE.IO so you can buy OMI.
Make sure you have completed the KYC verification so you can withdraw tokens from Gate.io.
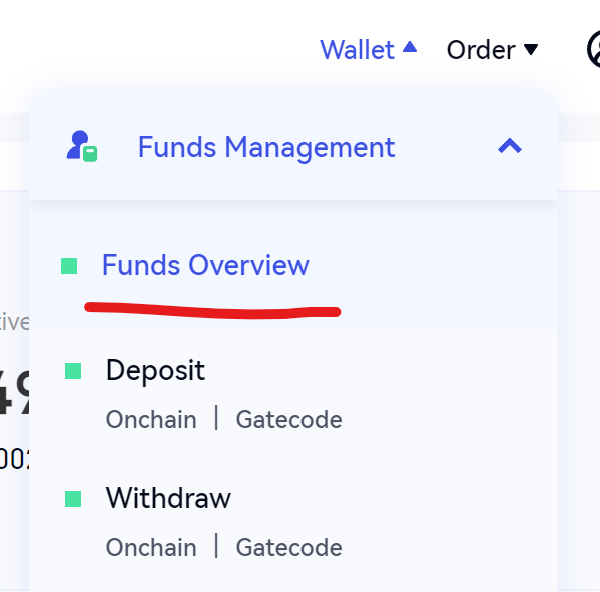
Go to gate.io and log in. Navigate to your account funds:
Search for OMI and click on 'Withdraw':

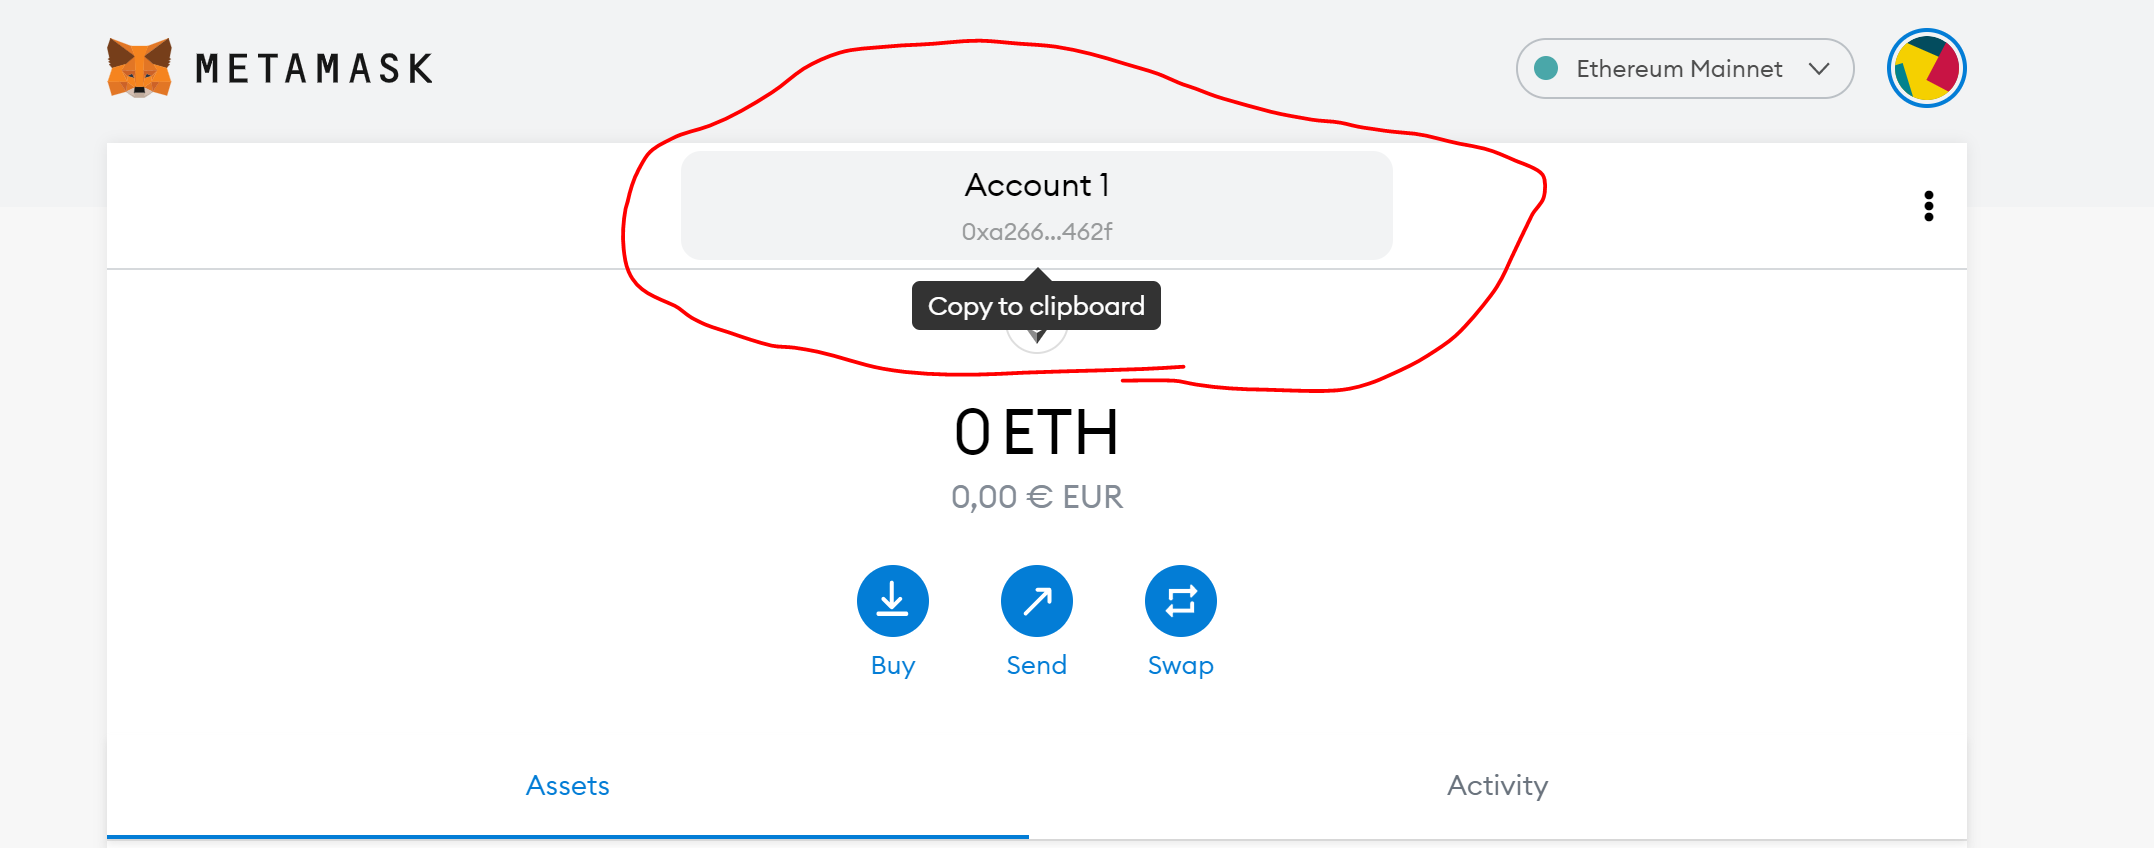
To copy your OMI (ETH) address , click here:
Select Ethereum (ERC-20). Paste your OMI (ETH) address that you copied before. Fill in the amount you want to send and all the verification codes.
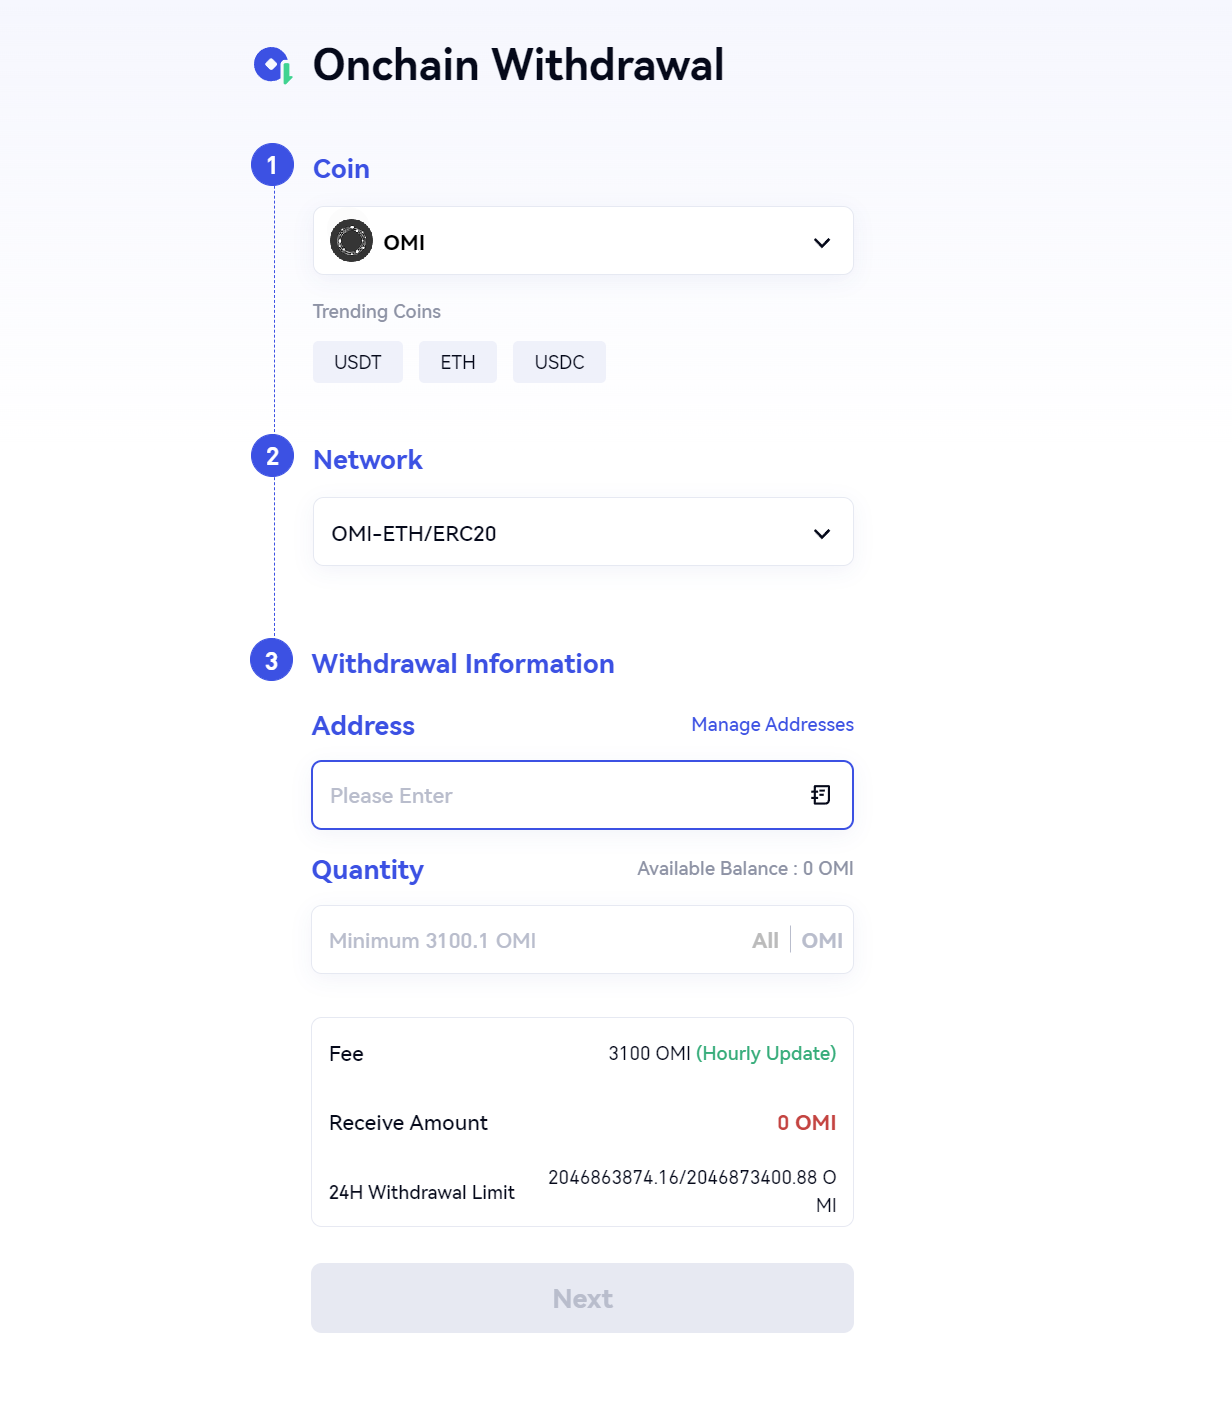
Submit your request, and you should see your OMI tokens in your Metamask/Ledger Wallet in a few minutes.
Your OMI tokens are now safely stored with your Ledger Hardware Wallet.
Important Note: In the previous version of this guide we showed how to store the OMI token on the Gochain. This was the official chain for ECOMI before, but they've since migrated the token to Ethereum (ERC-20). If you have your OMI token in the Gochain, you can bridge it to Ethereum using the official link: chainswap.ecomi.com
